
Putting everything together and testing it was the most time consuming aspect of the project. This is the stage where all issues started popping one after the other.
Testing & Debugging
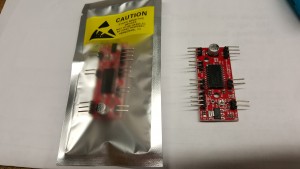
I received the EasyDriver component with a right angle male headers. I could not plug this into the breadboard. So I desoldered the headers and then soldered the regular straight male headers back to the component. I was worried the component would get damaged, because the copper circle started coming off while desoldering, but it worked out fine.
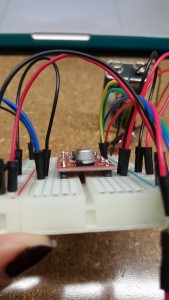
Testing one of the stepper motor to run back and forth
Experimenting with the Pixy camera to turn on LEDs based on movement (Left and Right)
Putting the whole system together and testing how high the camera should be in place to cover the area of the tank

Testing the stepper motors smoothness
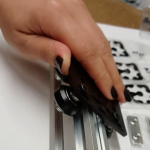
Experimenting with a few drops of ferrofluid in the tank
Experiments with Ferrofluid and Building the Rails


Electromagnets
Issues with electromagnets not having enough pull intensity. Bought a few different electromagnet solenoids from Amazon and all but one was not working as described in the data sheet. The reason I wanted to use an electric magnet was because I wanted the ability to turn on and off, which would let the ferrofluid convert from liquid to spikes. This transition itself would bring out the artistic aspect of the project.
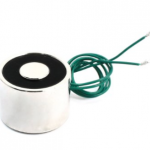


The Grove electromagnet by Seeedstudio was the one that had a decent pull intensity. However I could not use this because it was not creating the spikes a regular Neodymium magnet would. And this was important to bring the artistic aspect of the ferrofluid.


Back to Process